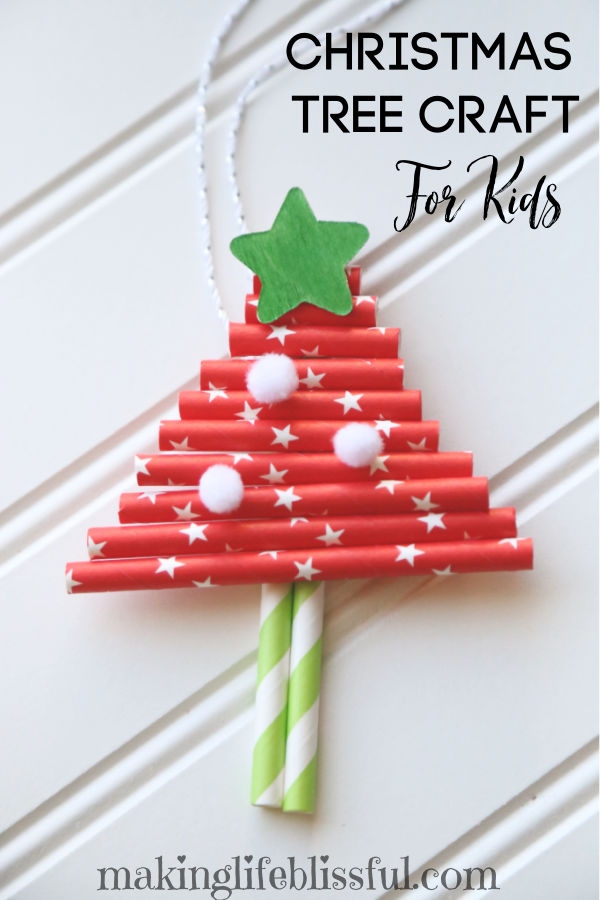
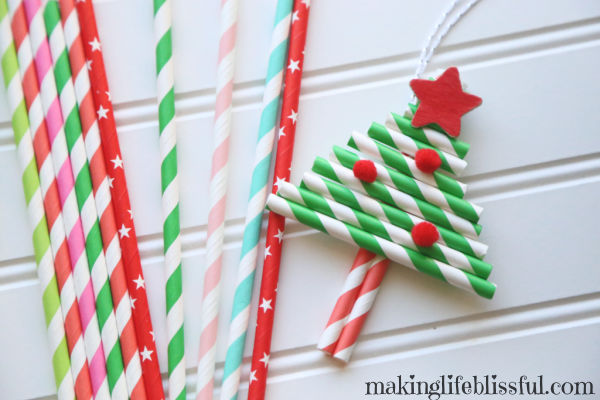
How to make this easy and very cute paper straw Christmas tree ornament. Fun DIY Christmas ornament or craft for kids and adults alike!
I don’t know what it is, but a few years back I fell in love with paper straws. I love the patterns, the colors, and I think they look so cute in any drink. But I also love crafting with paper straws. Paper straw crafts are simple and there are so many fun things to make with them. One of my favorite paper straw kids crafts is this easy paper straw Christmas tree ornament. It can be just a fun Christmas craft for kids or adults, or it can be an DIY Christmas ornament or gift.
*This post may contain affiliate links. I earn revenue to help support my website when you click and purchase from these links. Thank you!
If you are looking for a creative DIY Christmas ornament to make with your kids, this Christmas tree craft is just the one for you. It’s unique and it’s fun to put together.
Because I love these paper straw trees so much (and I think you will too) I have PRE-CUT PAPER STRAW CRAFT KITS in my Etsy shop available for purchase! During the holiday season, you’ll find this Paper Straw Christmas Tree Craft Kit for kids and many other craft kits that your kids will love. I’ve taken then prep work out of it for you, and you get to just have fun creating! Order one today! SUPPLY IS LIMITED!
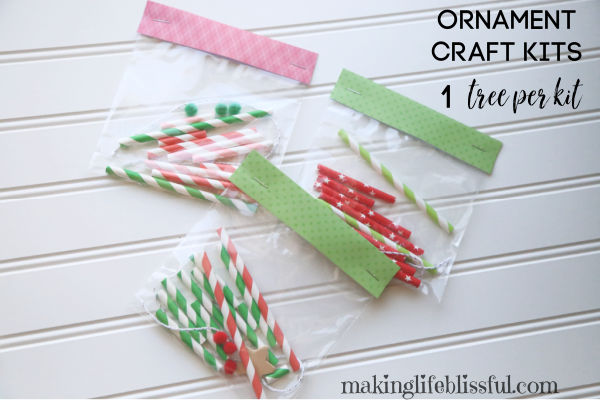
{Pre-cut PAPER STRAW CRAFT KIT}
You may also like these other paper straw crafts and Christmas craft ideas:
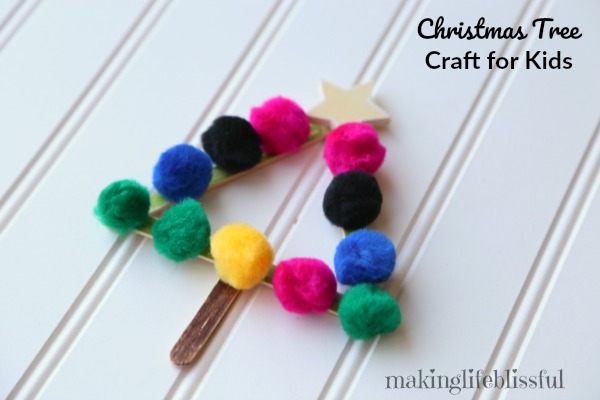
Pom Pom Christmas Tree Kids Craft
Paper Straw Christmas Wreath Kids Craft
How to make a paper straw Christmas tree ornament:
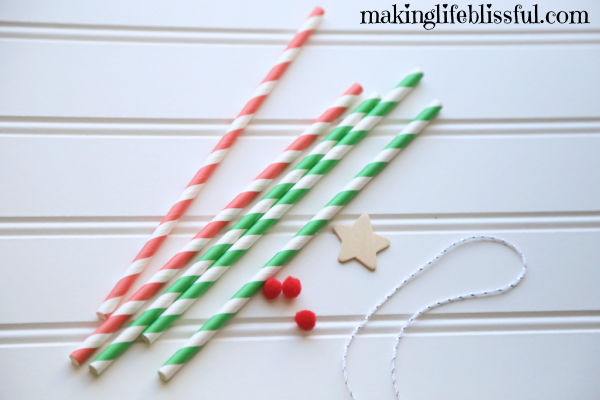
For this craft you will need:
5-6 paper straws in various colors
1 wooden star (or felt star would work)
3-5 mini craft pom poms
1 ribbon or string (for making an ornament)
craft glue (I like to use Elmer’s Xtreme because it holds well and is safe for kids)
scissors
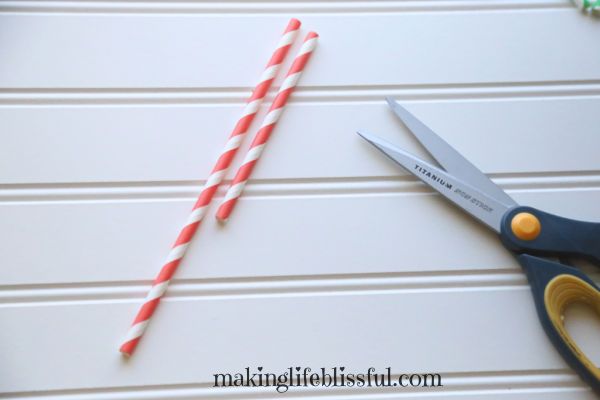
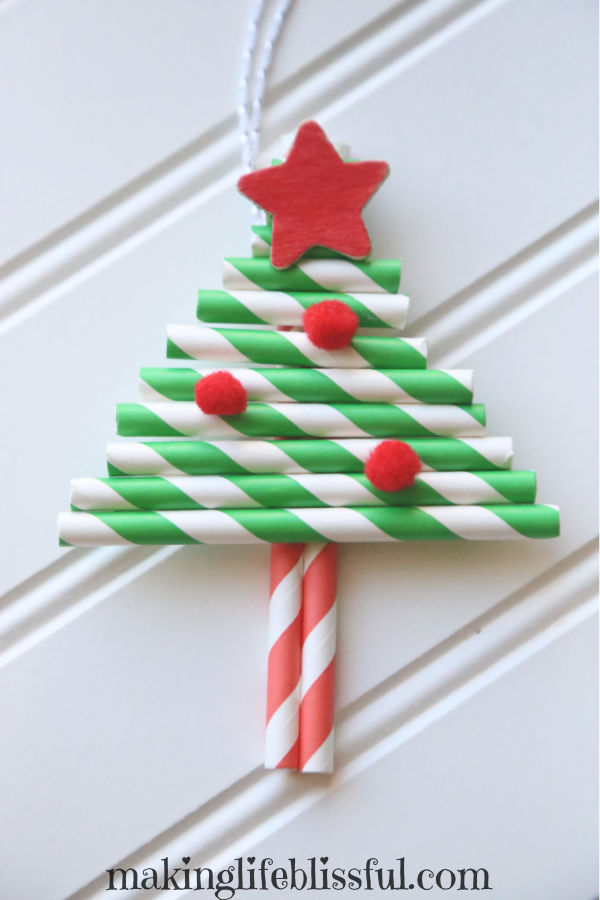
- Choose 2 paper straws to be the tree trunk. Cut them both to be the same size. Use about two thirds or a little more than halfway of each straw.
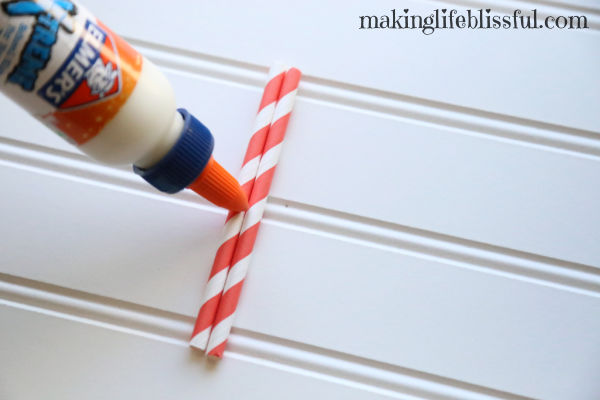
2. Glue the two trunk pieces together with some craft glue and let dry.
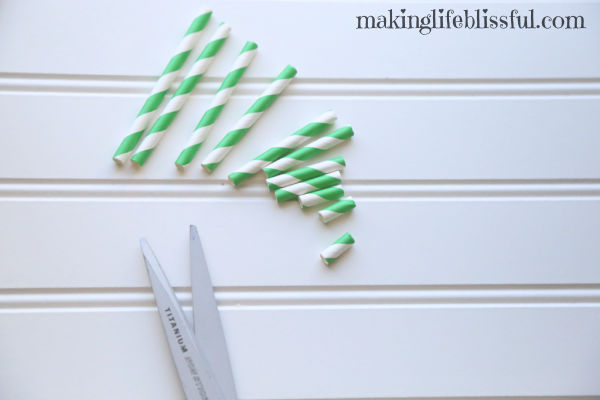
3. Use the rest of the straws to make the branches of the Christmas tree. Cut the bottom piece to be the longest, then the next piece just a little bit shorter, then the next piece even shorter. Continue until you have enough piece to complete your tree with a very small piece at the top. They should create a triangle-like shape. You will need to cut about 11-12 pieces for a complete tree.
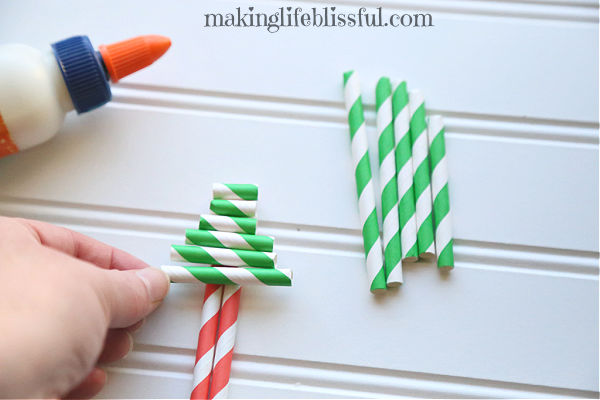
4. Start with the smallest piece and glue it onto the trunk at the top. Continue to glue the next pieces in a row from smallest to largest. Let the glue dry thoroughly.
5. Color your wooden star with markers (if desired) and glue onto the top of the tree. Glue on your mini pom poms on the front and the ribbon onto the back in a loop so you can hang it. And you’re done!! Now go make some more!
Hang your paper straw craft onto your Christmas tree and have a wonderful holiday season! Thanks for being here!
You may also like: