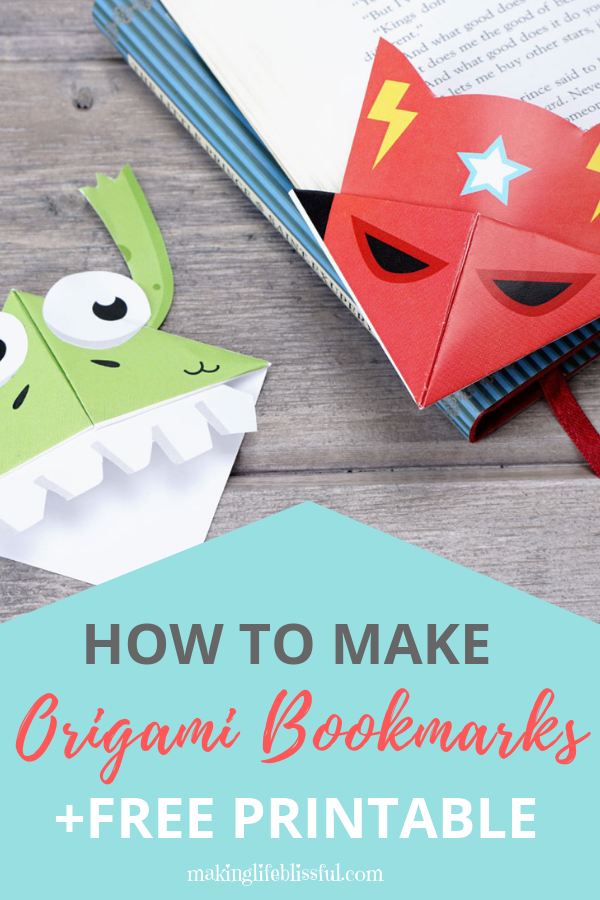
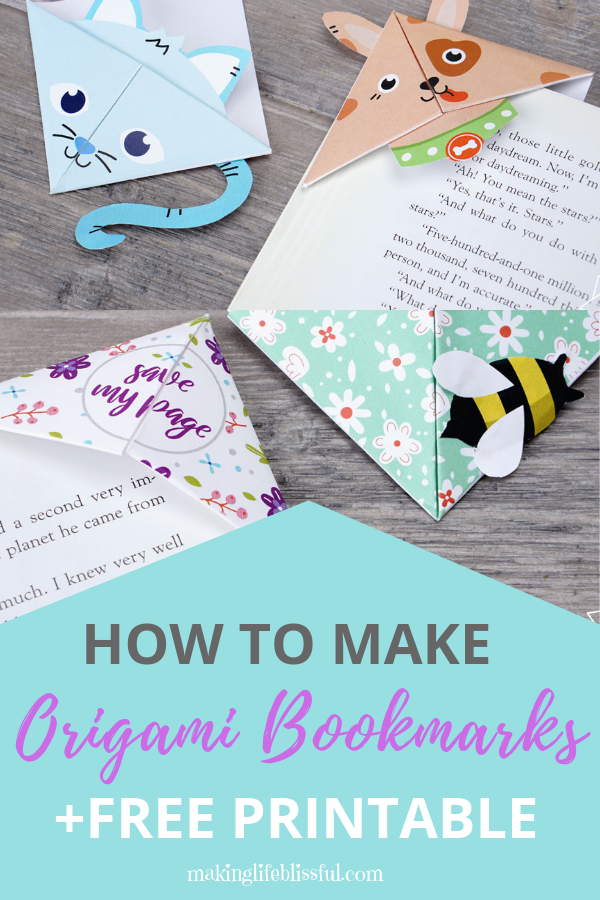
How to make fun origami bookmarks with your tweens. Includes a free printable origami bookmarks and all the instructions you need!
Hello blissful friends! It’s no secret that raising children who love to read has been proven to help them with literacy, vocabulary and comprehension skills. For our family, reading is such a big deal. I made it a point to read to my kids everyday when they were little. Now I love seeing how they enjoy it so much on their own. To encourage more little bookworms in your home, Personal Creations has created printable templates you and your tweens can use to make adorable origami bookmarks! This is a great craft for tweens! Be sure to use these FREE PRINTABLE Origami Bookmark Templates below!
*This post may contain affiliate links. Thanks for stopping by!
This origami craft is a great craft for older kids. You may have seen some of my other crafts for older kids including this tween tween craft tutorial on how to make a pop-up card. Or these Kindness Buggles Craft for tweens are very popular among older kids and tweens.
How to Make Origami Bookmarks
From kitty cats to dinosaurs, these eight bookmarks are perfect for readers of all ages! Don’t worry –– there’s only six easy steps to make these simple bookmarks. Have fun folding!
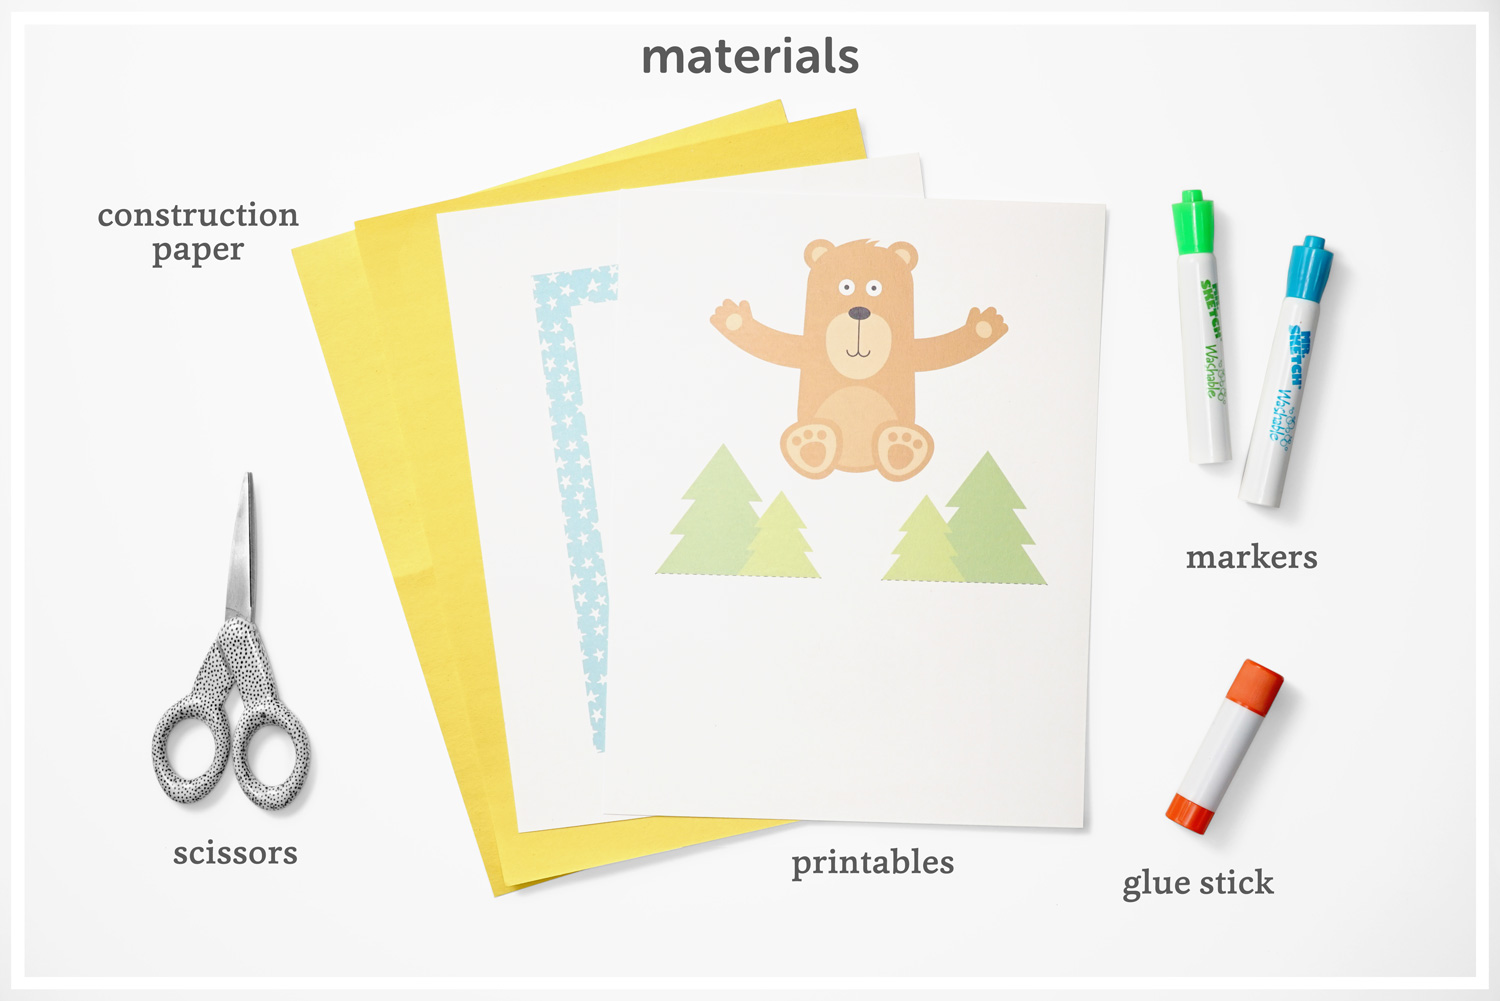
Materials Needed
- Printed bookmark template or square origami paper
- Scissors or paper cutter
- Tape or glue
Free Printable Origami Templates
You can use a square piece of paper or one of the themed free printable templates from Personal Creations. Follow the the instructions below or at Personal Creations to create your very own origami bookmark! Also, be sure to visit Personal Creations for so many more creative ideas and gifts.
Animal lovers will adore these kitty and puppy origami bookmark templates.
{GET YOUR FREE ANIMAL ORIGAMI BOOKMARK TEMPLATE HERE}
And how about some cool origami . . . a dinosaur and a superhero bookmark would be awesome to make.
{GET YOUR FREE DINO & SUPERHERO BOOKMARK TEMPLATE HERE}
And lastly, how can you not love these cute origami bookmarks for any kid!
{GET YOUR CUTE ORIGAMI BOOKMARK TEMPLATE HERE}
Now for some origami instructions . . . the video below will help too.
How to Make an Origami Bookmark
1. Cut out template and add-ons
Choose your favorite template above, then print and cut it out. Start by placing the paper with the corner facing you and the design facing down. The solid colored triangle should be closest to the bottom corner.
2. Fold the bottom corner up to the center point of the square
Place your square on a table, one point facing towards you so it looks like a diamond. Bring the bottom point up to meet the top point. Crease in the middle to create a small triangle.
3. Fold upward again at the center, creating a second triangle
With the top of your triangle pointing up, bring the left point up to meet the top. Crease along the fold. Repeat on the right side to create a smaller diamond.
4. Bring the bottom two points up to meet the top
Flip your diamond over. Taking only the top layer of paper, bring the bottom point of the diamond up to meet the top. Crease, then unfold.
5. Fold the points into the pocket
Taking the same point, tuck it into the pocket created and crease at the edges. Use tape or glue to strengthen any loose edges on the back of your bookmark.
6. Glue or tape on decorative pieces
Attach the decorative pieces as shown in our previews. Have fun reading!
Now that you’re a pro at origami folding, try creating a bookmark using one of those fun designs! From your favorite furry friends to daring superheroes, these templates will get you excited to read and help protect your books from wear and tear.
PIN AND SHARE IT!
If you like this post, please pin it and share it with your friends!
You may also like:
HOW TO MAKE A POP UP CARD + FREE PRINTABLES
