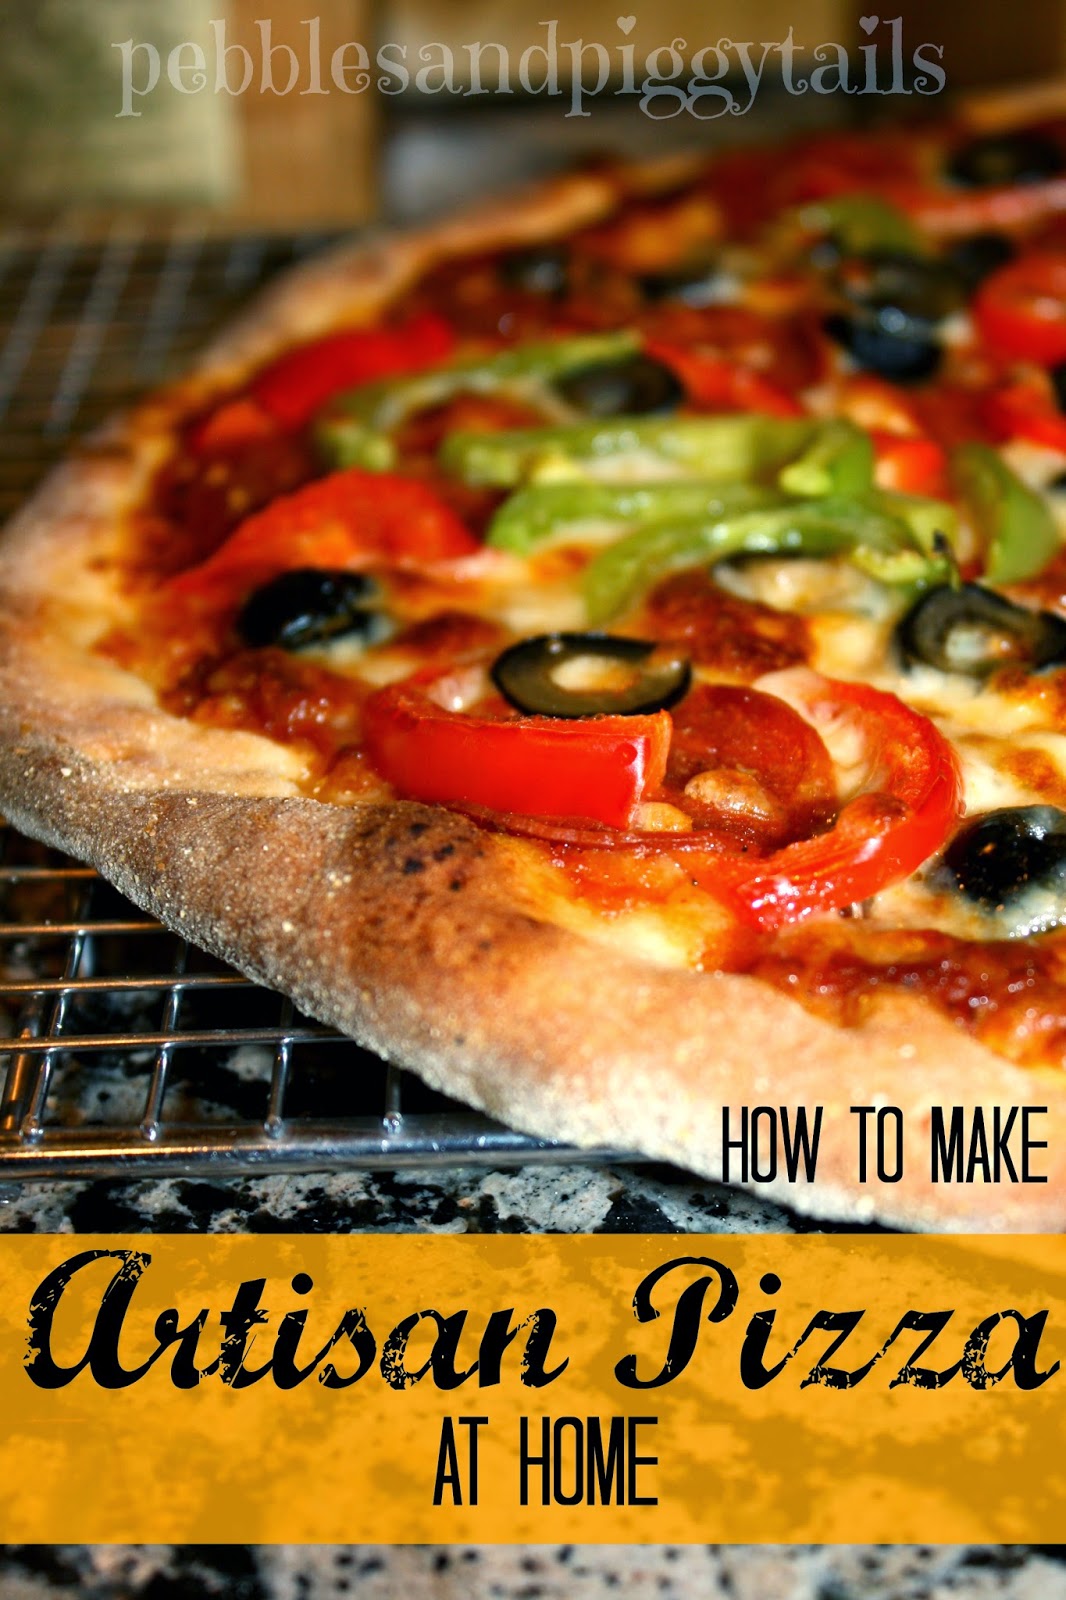
Brick oven pizza is THE BEST!!!! I would LOVE to build my own brick oven out in my back yard to bake amazing artisan breads and brick oven pizza! But, since our kids need braces , I’ll wait patiently until everyone has straight teeth and then maybe we’ll build it! Until then, we use pizza stones and crank out Artisan Pizza a least once a month! Just be warned….this could turn your kids into PIZZA SNOBS who critique all other pizzas! This Artisan Pizza has the BEST crust! Our uncle Max taught us a few secrets! The crust is super crispy on the bottom, yet chewing in the middle! Sliding the pizza onto a FIREY HOT pizza stone makes ALL THE DIFFERENCE! Listen up and we’ll show you how!
Pizza”


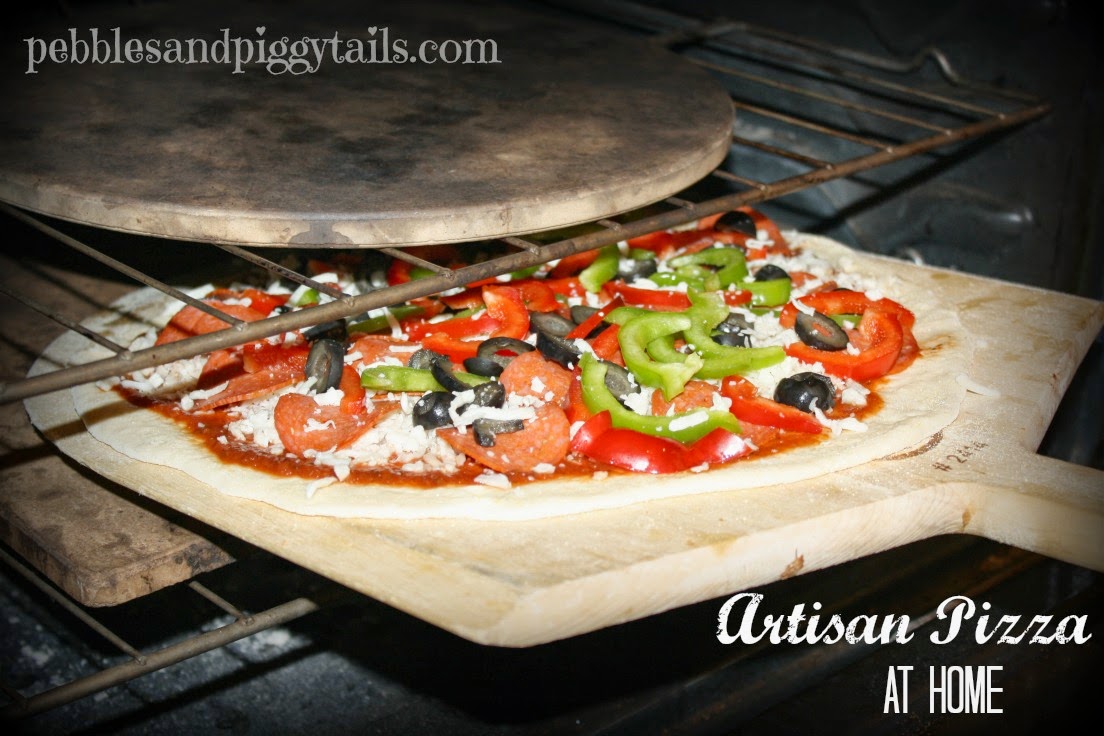
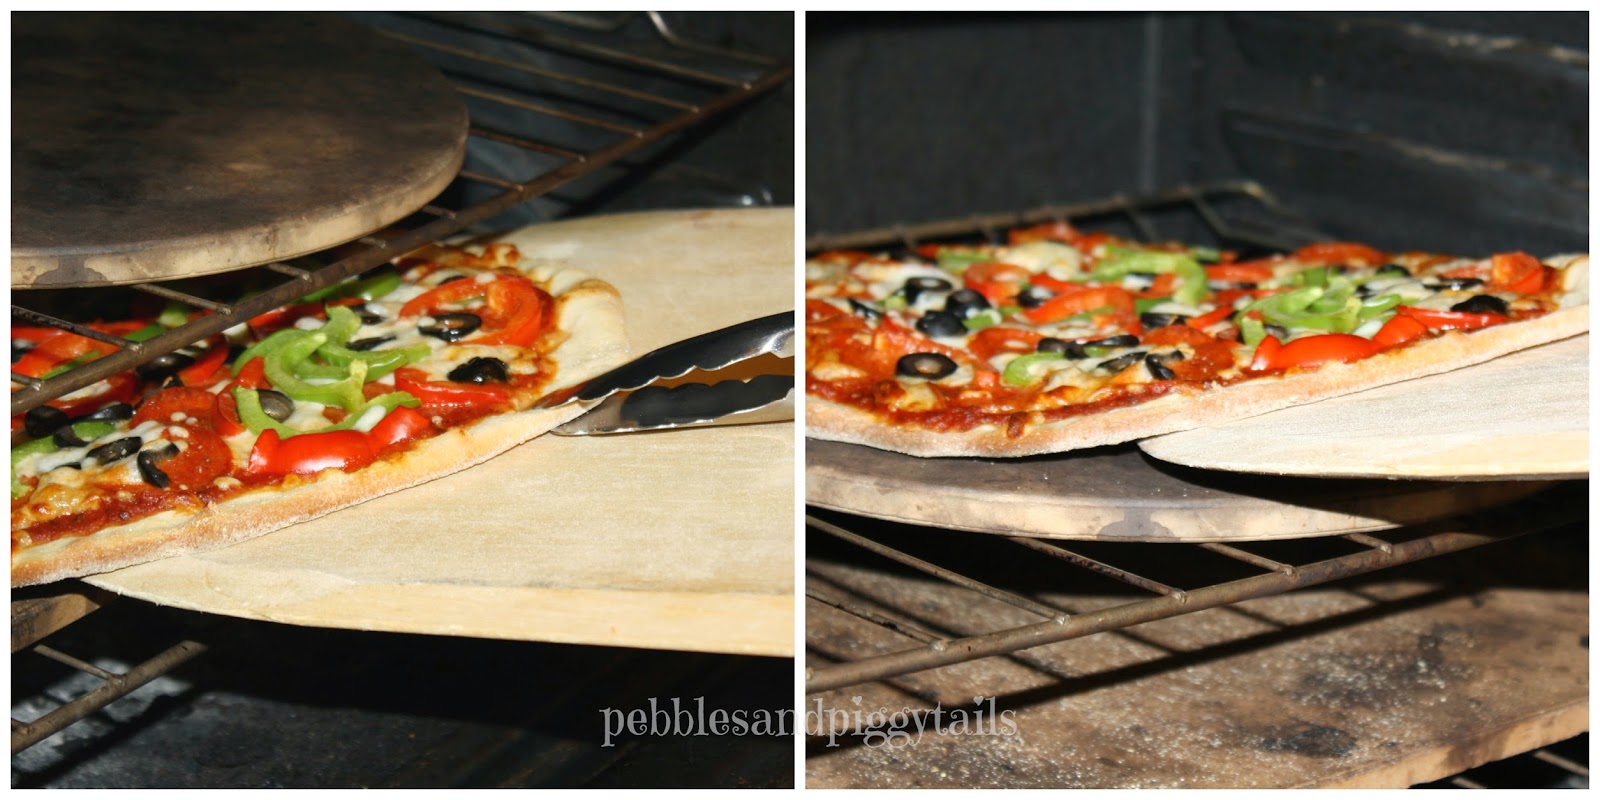
Pull the pizza off lower stone and slide it onto upper stone. Baking on upper stone for 1 minute gives the pizza a nice roasted and charred finish without burning the cheese.

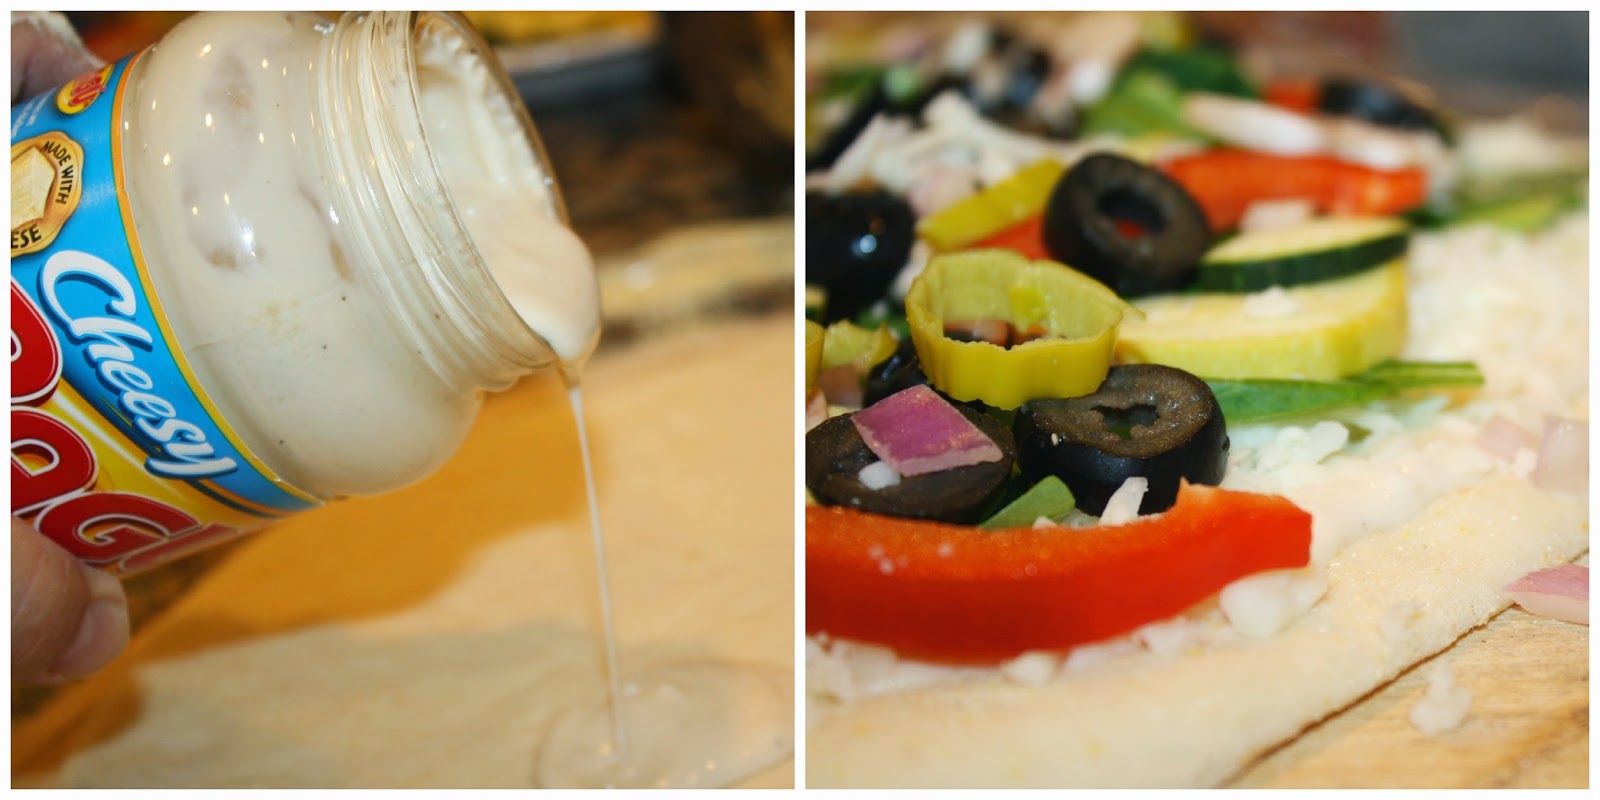

Roasted Chicken Alfredo Veggie Pizza right out of the oven…..SERIOUSLY DELISH!
Homemade Artisan Pizza

Seriously YUM Pizza! How to make perfect artisan pizza at home!
Ingredients
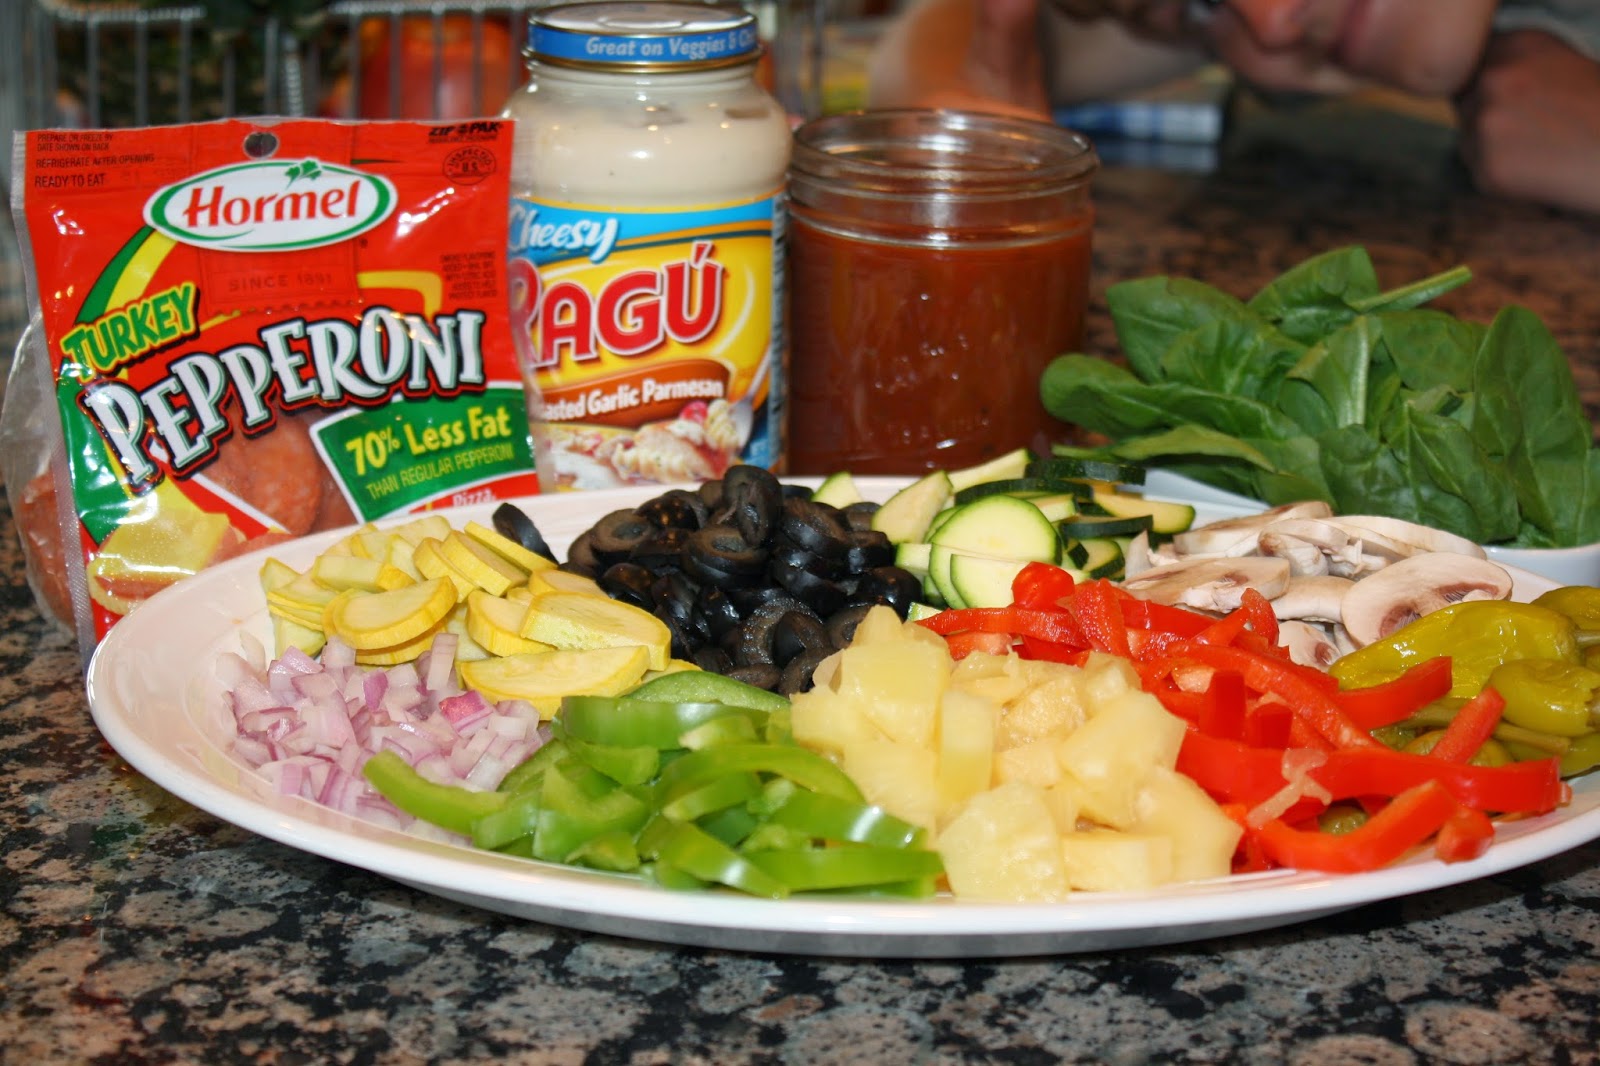
Toppings
- Pepperoni, sausage, ham & pineapple, olives, peppers, spinach, tomatoes, onions, artichokes,
- pineapple, Greek olives, Feta cheese, mushrooms, zucchini…whatever you love!
Sauce
- favorite marinara sauce, Roasted Garlic Alfredo sauce
Pizza Crust
- First: Place your pizza stone(s) in your cold oven and turn oven on to 550 degrees. The stones
- need to heat up for at least 45 minutes to be ready for pizza making! If you are using 1 stone, put it
- on the lowest rack in the oven. If you are using 2 stones, put one on the lowest rack and the other
- one on the middle rack in the oven.
- 6 cups flour
- 1 Tble INSTANT yeast
- 1 Tble salt
- 1 Tble sugar
- 1 1/2 Tble wheat gluten (can find in baking section of grocery store)
- 2 1/4 cups warm water…..warm/hot like the temperature of your shower
- 3 Tble oil
- 1 Tble honey
Instructions
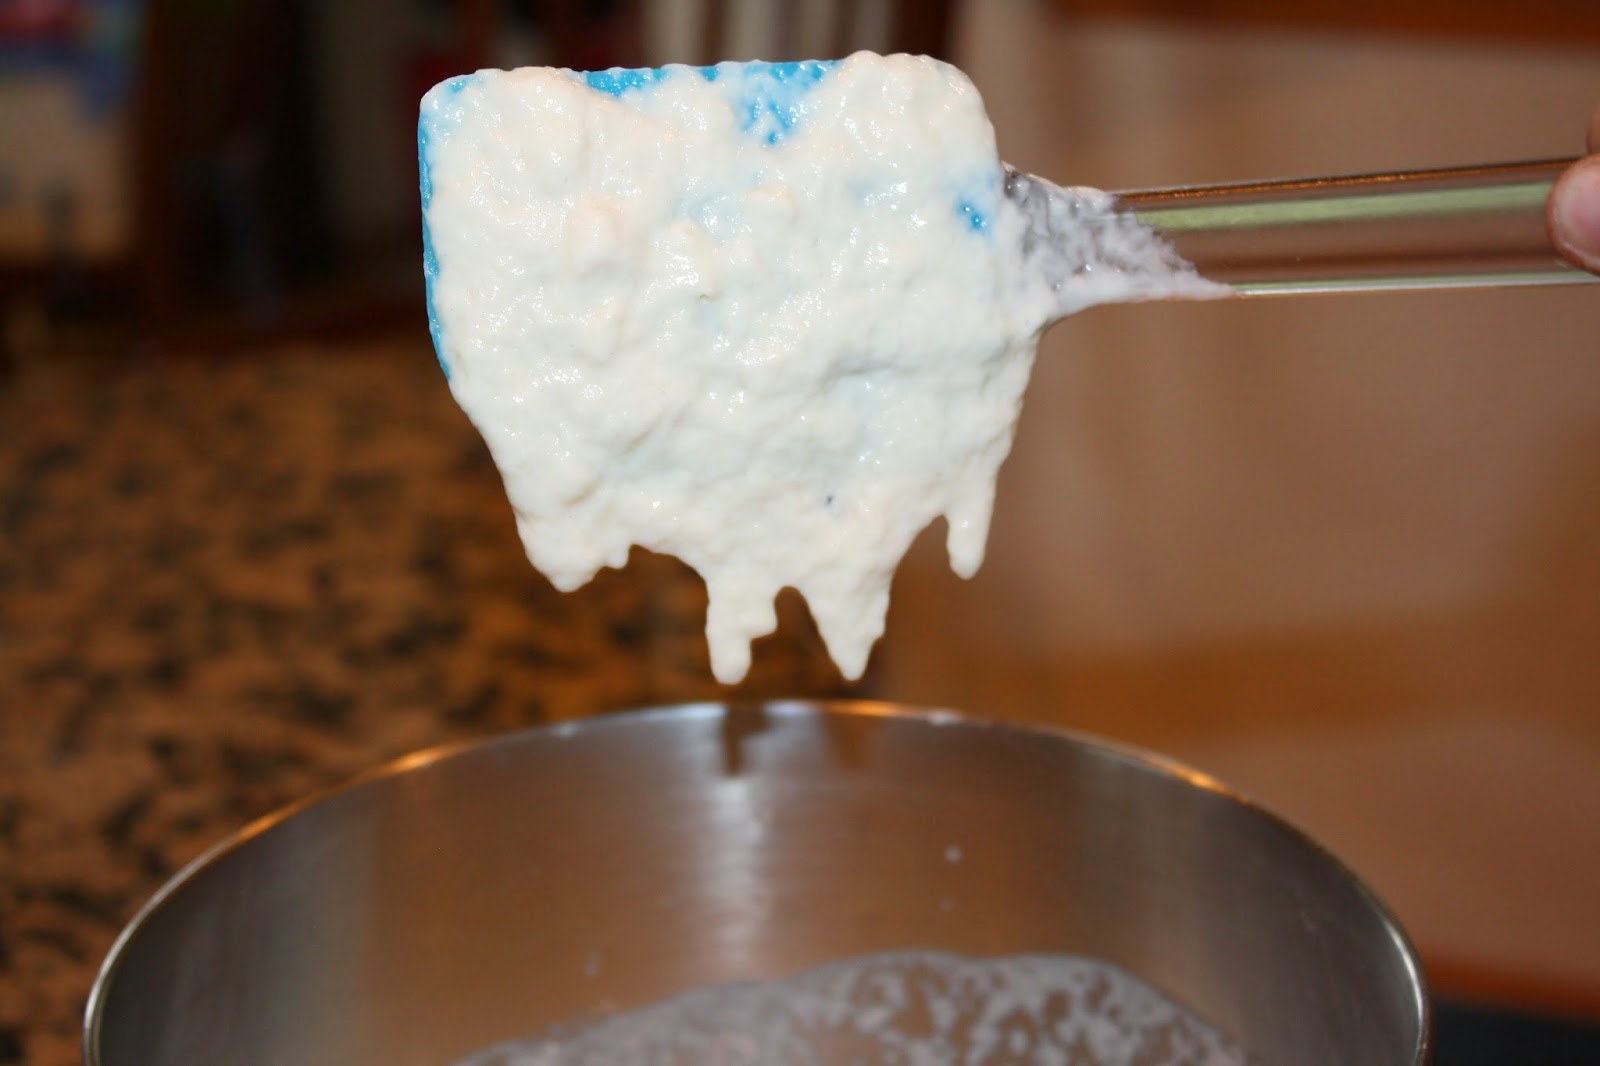
- Mix dry ingredients together in mixer using only 2 cups flour. Pour all wet ingredients in and mix until combined. Add other flour gradually until dough forms a ball while mixing and pulls away from the sides, leaving a clean mixing bowl. Mix in mixer or knead by hand for 10 minutes. Dough should be stretchy and soft, but not sticky. Put dough in oiled glass bowl, turning to coat…..this keeps it from drying out. Cover with plastic and let stand for 20 minutes. (The dough can sit out on your counter and proof for 2 hours if you want to make it ahead)
- Divide pizza dough into 5 balls. Roll out dough on a generous amount of corn meal. Roll dough as thin as possible…like the thickness of a thick flour tortilla. Sprinkle a pizza peal or flat cookie sheet with corn meal and place pizza crust on top. The crust should slide easily on the cookie sheet/pizza peal. Add sauce and favorite toppings.
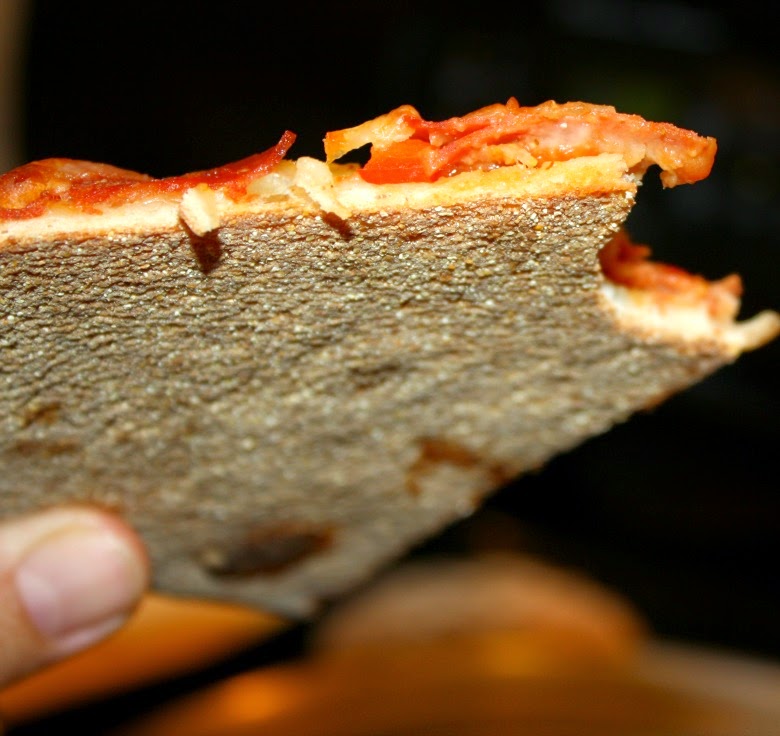
- To slide prepared pizza off of cookie sheet onto HOT pizza stone…..Place the pizza paddle/cookie sheet as far back on the pizza stone as you can reach. Slide the pizza onto the stone using short quick strokes. The pizza will slide off a little at a time until the whole thing is on the stone. Bake for 7 minutes. Cool slightly on a wire rack. Voila! You have SERIOUSLY YUM PIZZA! The crust is crispy on the bottom and chewy on top!
———————————————————–