• Home
  • CONTACT ME
  • printables
  • Website Policies
  • INDEX
  • FAVORITE THINGS

Making Life Blissful

Finding The Good

  • Making Life Blissful
  • RECIPES
    • Desserts
    • Easy Recipes
    • Savory
    • Dinner
    • Amy’s Recipes
    • Top 30 Recipes
    • Free Trifle Cookbook
  • KIDS CRAFTS
    • Easy Crafts
    • Printables
    • Craft Kits
    • Christmas
    • Easter
    • Halloween
    • Patriotic
    • Valentines
    • Preschool
    • TPT Store
  • FAMILY LIFE
    • Life Lessons
    • Family Stories
    • Good Info
    • Tips & Ideas
    • Home Decor
    • Activities
  • SHOP
  • FAVORITE THINGS

be the good sign 5
You are here: Home / Home Decor / How to Make a Vintage Sign

How to Make a Vintage Sign

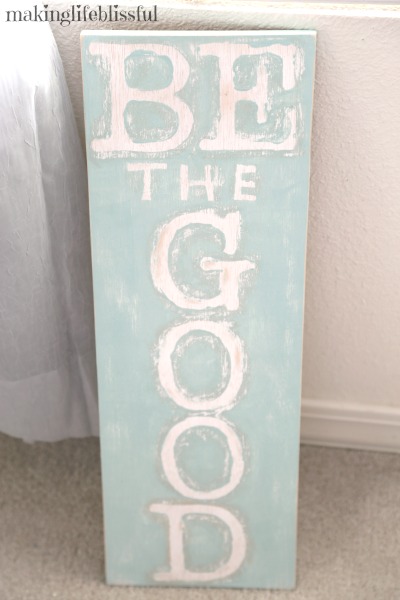
I have a super easy DIY decor idea for you today.  I had a bunch of cardboard letters lying around from another craft, so I decided to put them to good use.  I made a cute, simple vintage sign that makes an adorable decoration.  You probably have the supplies lying around your house, just use the paint and the wood you’ve already got.  Here is how you make a vintage sign for yourself:


Be sure to join our bi-monthly email list and get blissful ideas to your inbox. Crafts, recipes, positive vibes, and inspiration!


DIY Vintage Sign


Supplies:


Flat wooden board
Acrylic or spray paint for background
Acrylic or spray paint for top coat (different color than background)
Cardboard letters or vinyl lettering
Tape (I used blue Painter’s Tape
Sandpaper


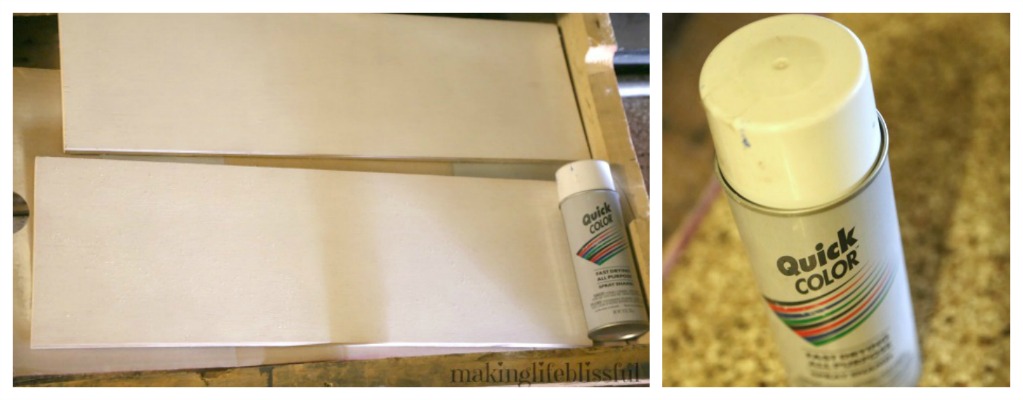
1.  You’ll need a wooden board and a bottle of spray paint.  Whitewash the board with the paint to create a white background and let dry thoroughly.  You can also use acrylic paint.  The spray paint was super quick though.


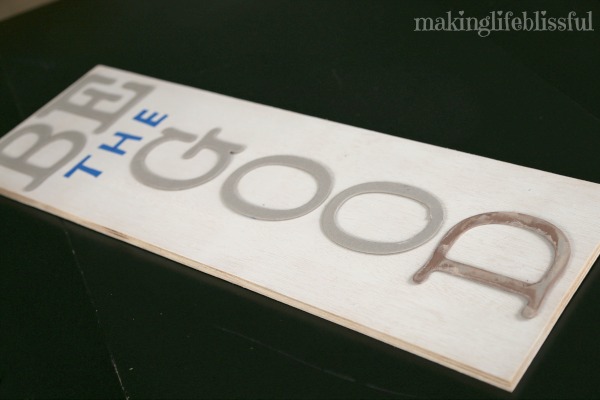
2.  Tape your letters onto the board in the order of what you want it to say.  I used painters tape to tape it on so it would hold well, but not rip off the background paint later.  You could use vinyl lettering, OR I even used some of the painter’s tape to make the word “THE”.  So many ways to do this.

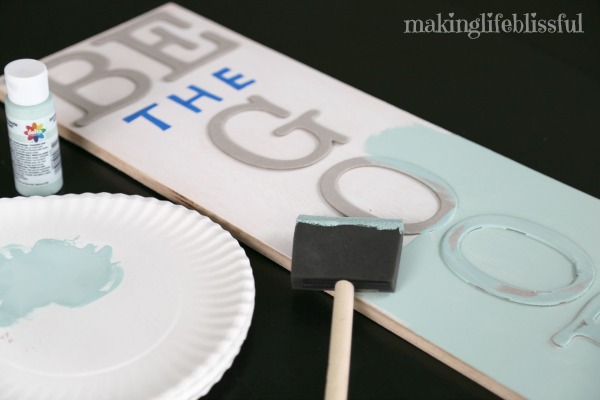
3.  Paint over the letters and the whole board with your favorite color of paint.  It’s all right if the pain runs a little bit under the letters.  This gives it the vintage look.


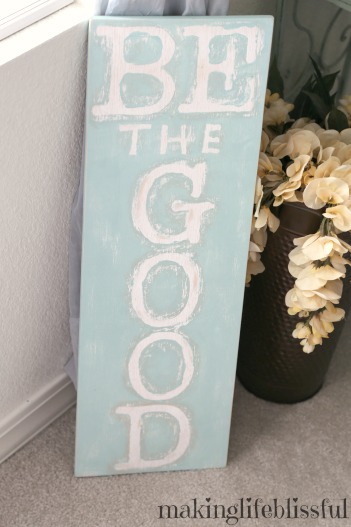
4.  When the paint is dry, carefully remove the letters.  Sand the edges of the letters and all around the wood in random places to give them that rustic, vintage look. And then your sign is done!

 photo signature_zpss3im29od.pngYou may also like:


Easy DIY End Table Re-do 
And How I Cheated . . . 


NO GLUE Spring Wreaths


How to make a DIY Chalkboard Menu Board


How to Make Pillows from a Shower Curtain


«
»

Home Decor, Just For Fun, Kids Crafts, Uncategorized

About Lisa Jorgensen

I was hit by an intoxicated driver when I was walking on the sidewalk. I was also 6 months pregnant at the time. I learned a huge lesson about miracles and not taking life for granted. I believe in finding the good and making life blissful with family, food, and fun ideas. Every moment matters.

  • Email
  • Facebook
  • Instagram
  • Pinterest
  • Twitter
  • YouTube


Sign up for free printables, fun ideas, and more from

Making Life Blissful

We respect your email privacy

Powered by AWeber Email Marketing


Stephens Gourmet Cocoa Magical Day 2

How to Have a Magical Day + A Stephen’s Cocoa Giveaway

Doritosaladtitlepic1.2

Doritos Taco Salad

raise a happy child

How to Raise Porn-Proof Kids

Recent Posts

  • How to Visit Capitol Reef Park in ONE Day
  • Quick Cinnamon Roll Waffles
  • 3 Best Face Rollers for Your Beauty Routine
  • Are Home Science Kits Worth the Money?
  • 5 Ways to Exercise at Your Desk

Join my free printables membership

Categories

Archives

Copyright © 2023 · Darling theme by Restored 316

Copyright © 2023 · Darling Theme on Genesis Framework · WordPress · Log in