• Home
  • CONTACT ME
  • printables
  • Website Policies
  • INDEX
  • FAVORITE THINGS

Making Life Blissful

Finding The Good

  • Making Life Blissful
  • RECIPES
    • Desserts
    • Easy Recipes
    • Savory
    • Dinner
    • Amy’s Recipes
    • Top 30 Recipes
    • Free Trifle Cookbook
  • KIDS CRAFTS
    • Easy Crafts
    • Printables
    • Craft Kits
    • Christmas
    • Easter
    • Halloween
    • Patriotic
    • Valentines
    • Preschool
    • TPT Store
  • FAMILY LIFE
    • Life Lessons
    • Family Stories
    • Good Info
    • Tips & Ideas
    • Home Decor
    • Activities
  • SHOP
  • FAVORITE THINGS

burlap valentine wreath2
You are here: Home / Craftiness / DIY Valentine Wreath with Burlap and Grapevine

DIY Valentine Wreath with Burlap and Grapevine

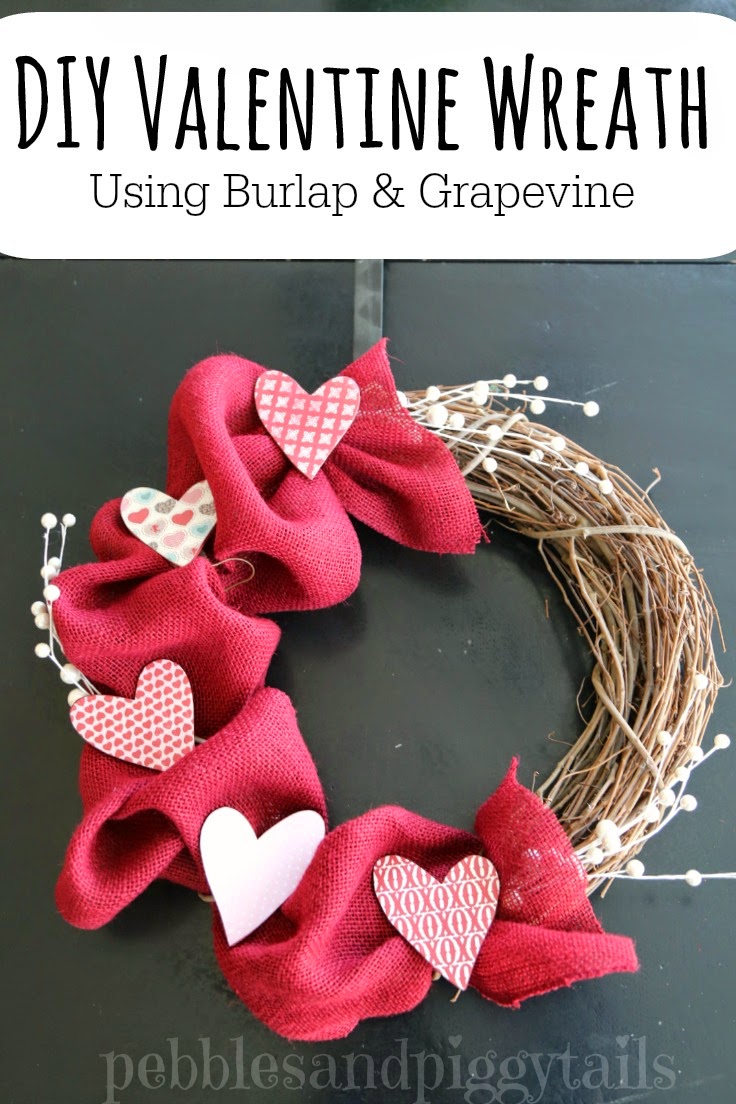
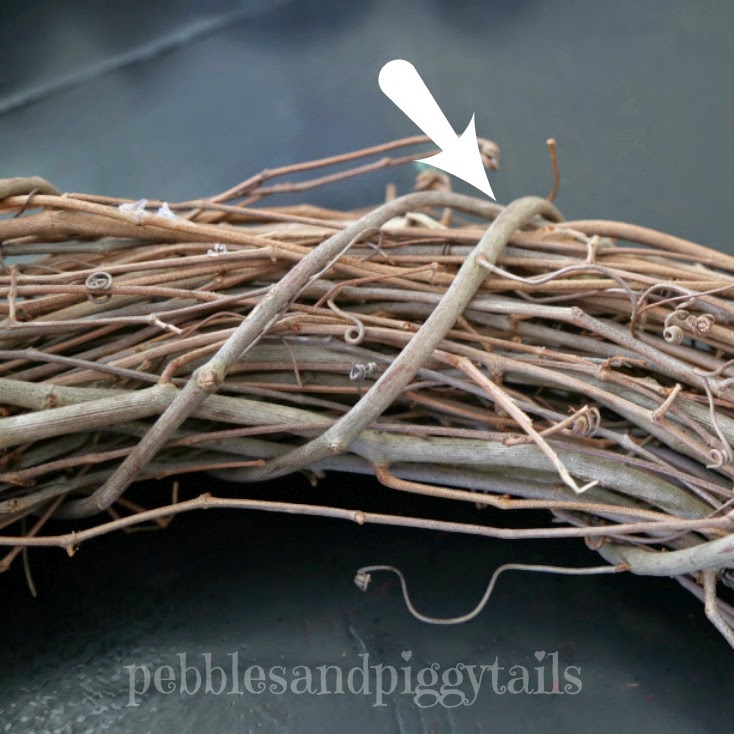
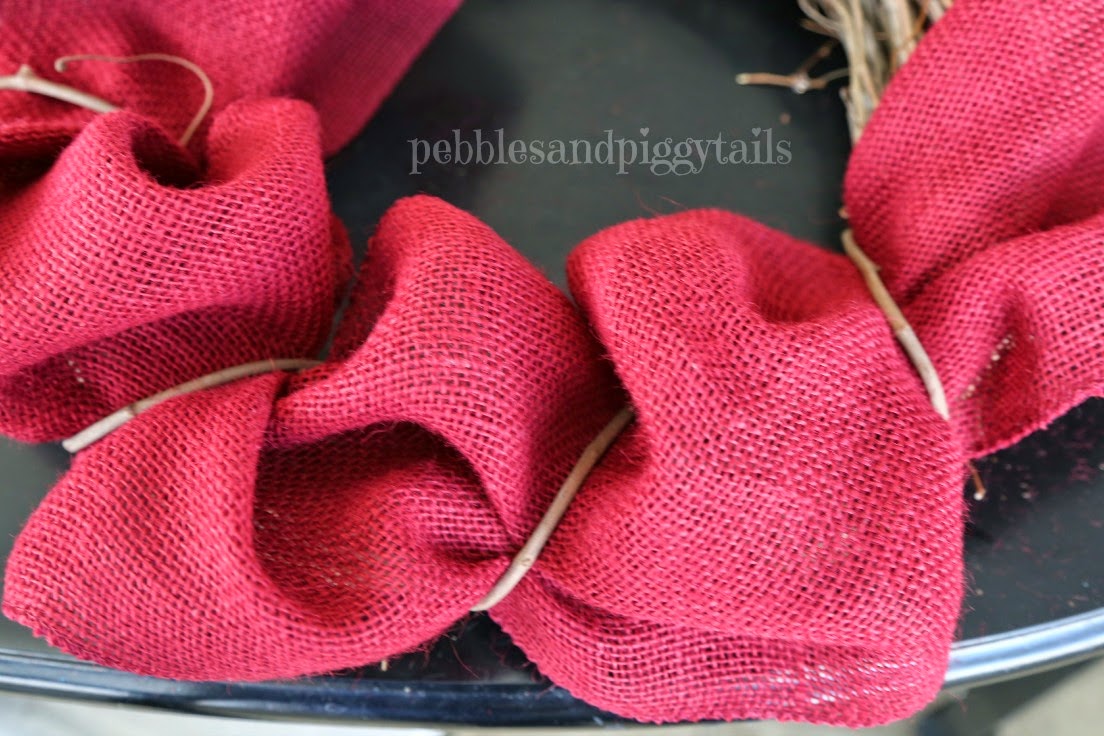
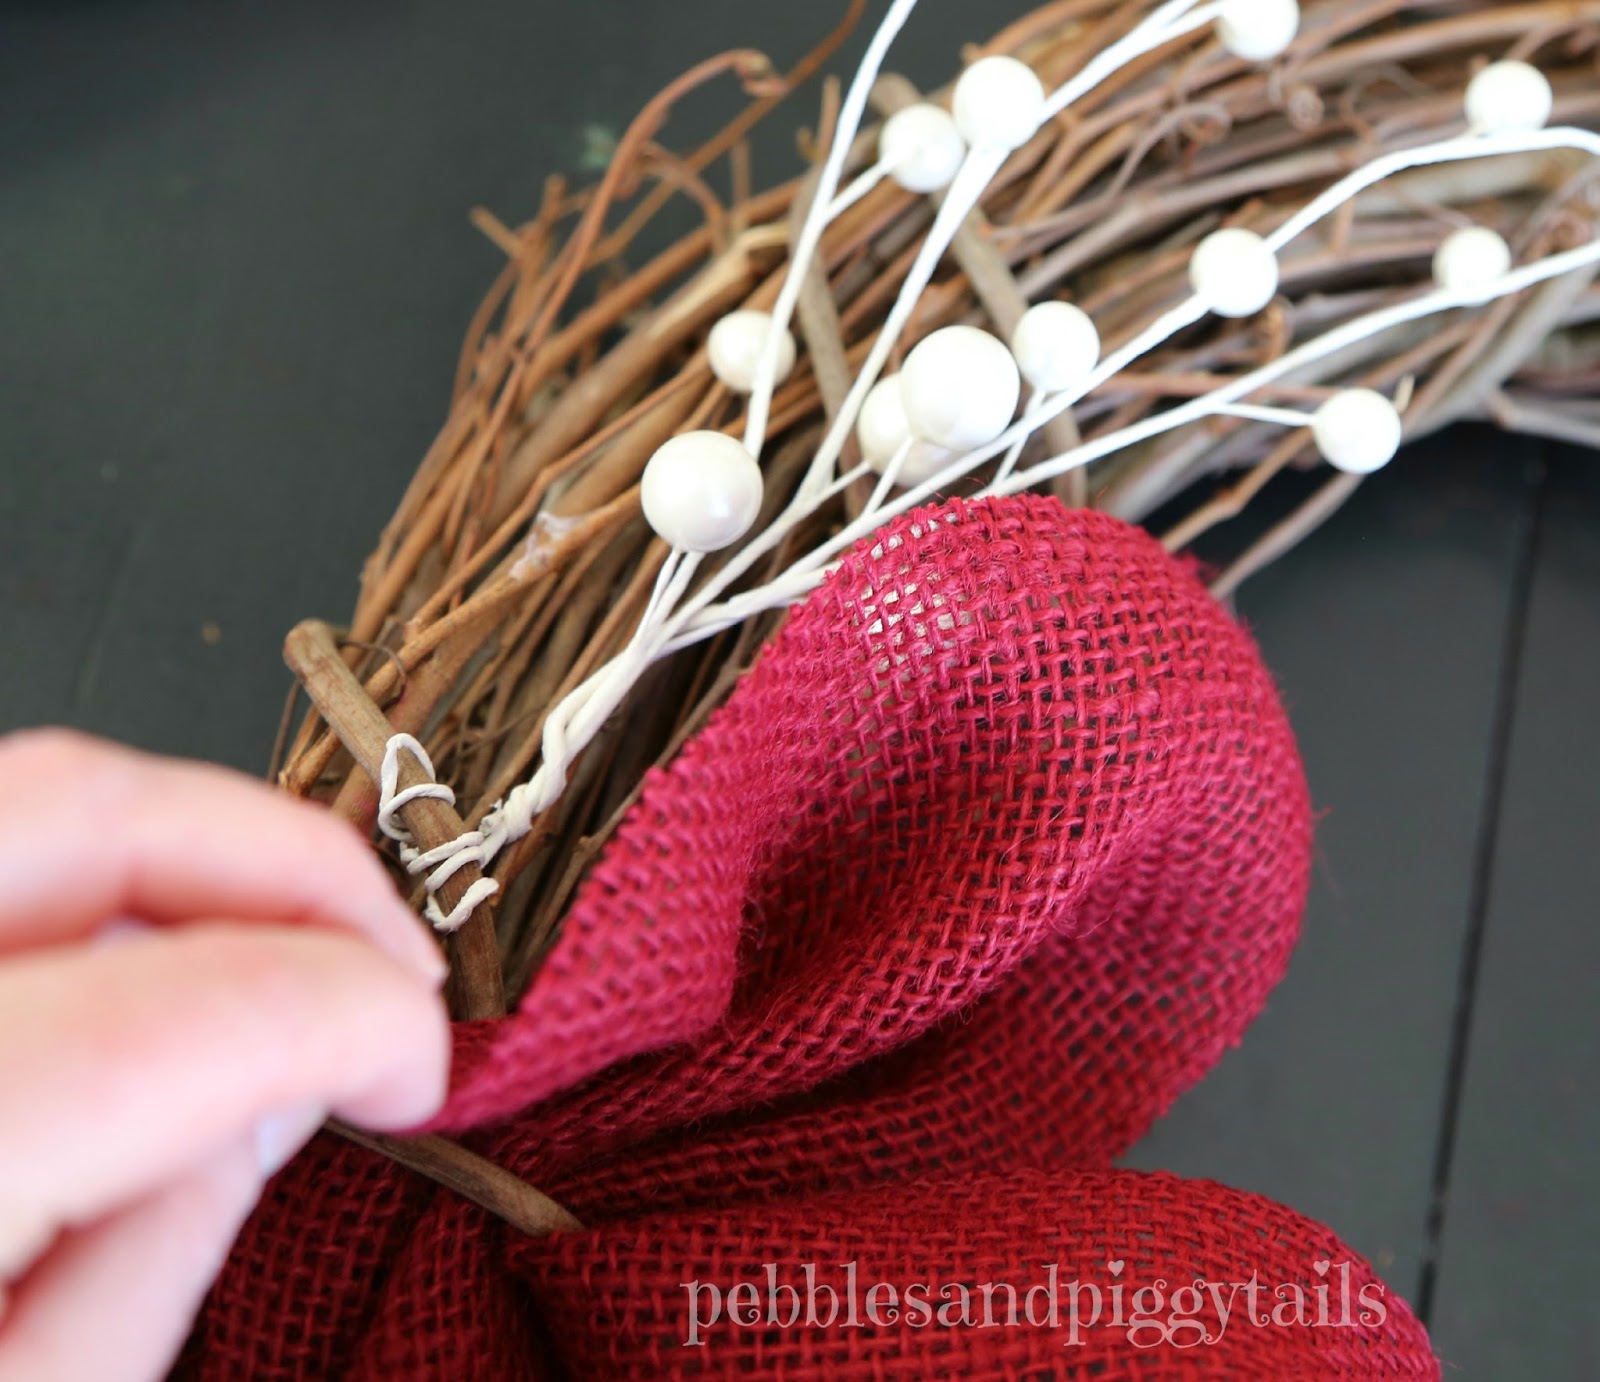
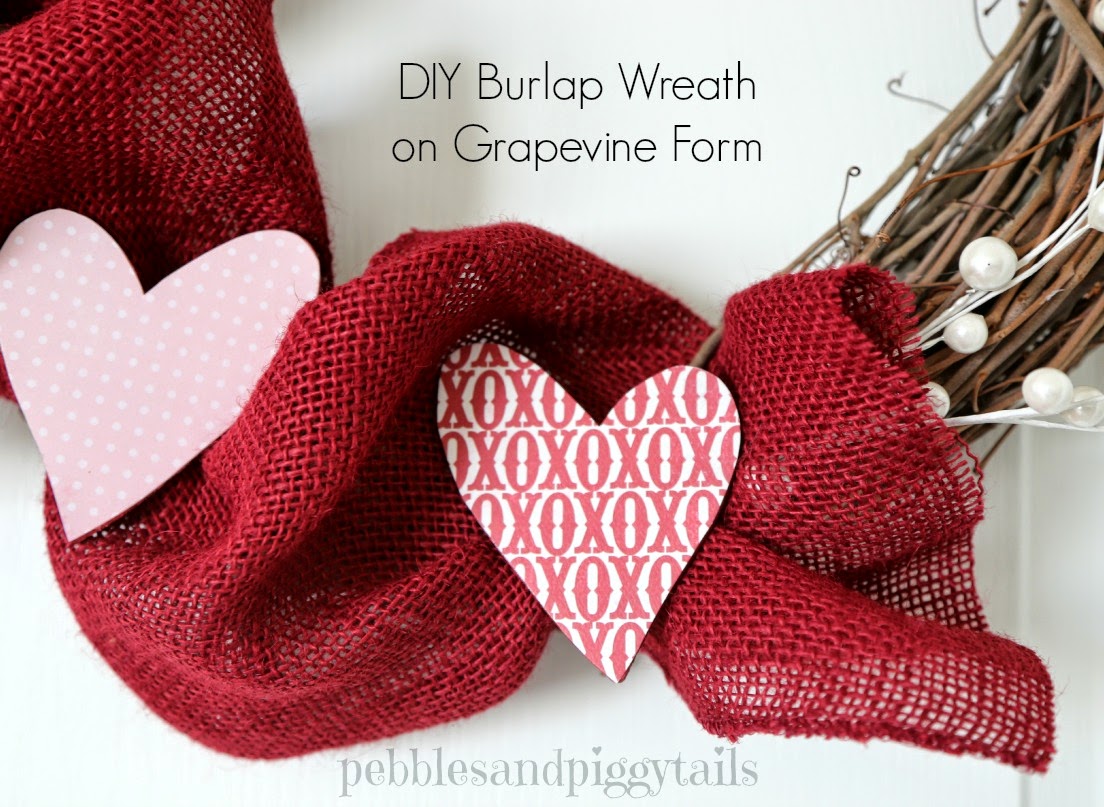
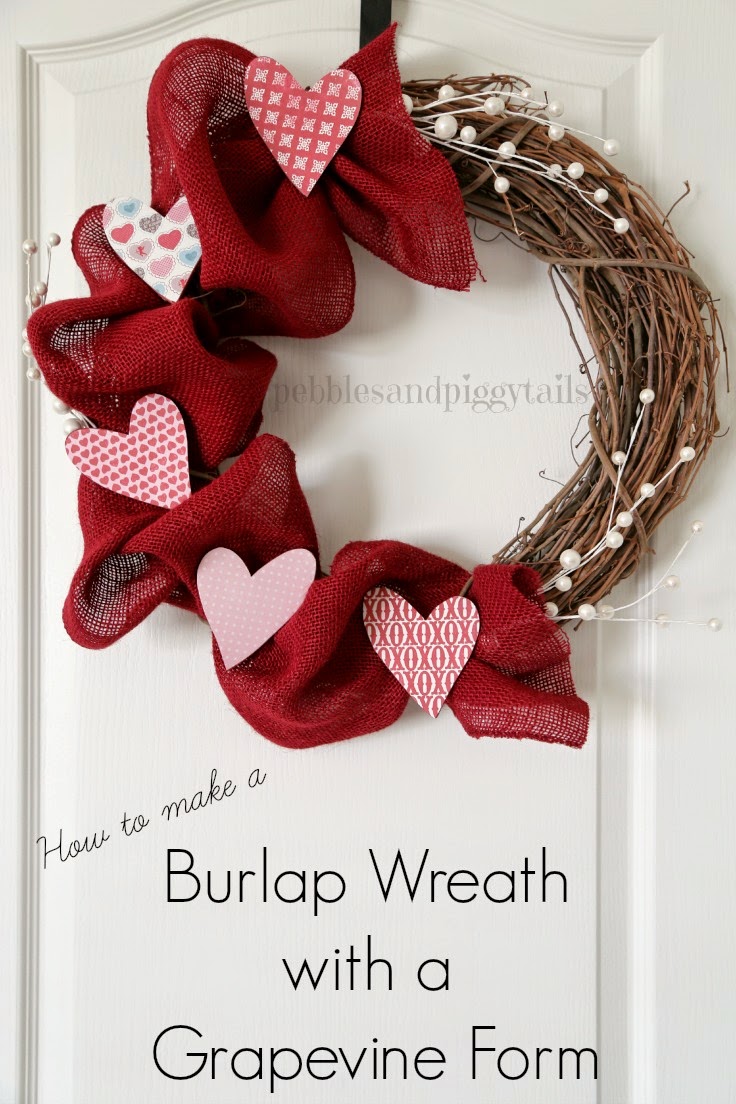
Friends, I am learning to craft.  Yes, learning.  Sometimes I get it right, and sometimes I don’t.  I fixed up my old grapevine Valentine wreath and updated it into a cute Burlap Wreath.  Most of the tutorials for burlap wreath that I found used a wire wreath form, but I wanted to reuse my grapevine form.  So I figured out how.  Let me know what you think.


Before you read on, sign up for updates, tips, and blissful ideas!:

#mc_embed_signup{background:#fff; clear:left; font:14px Helvetica,Arial,sans-serif; }
/* Add your own MailChimp form style overrides in your site stylesheet or in this style block.
We recommend moving this block and the preceding CSS link to the HEAD of your HTML file. */


Join our monthly newsletter & make life meaningful! 


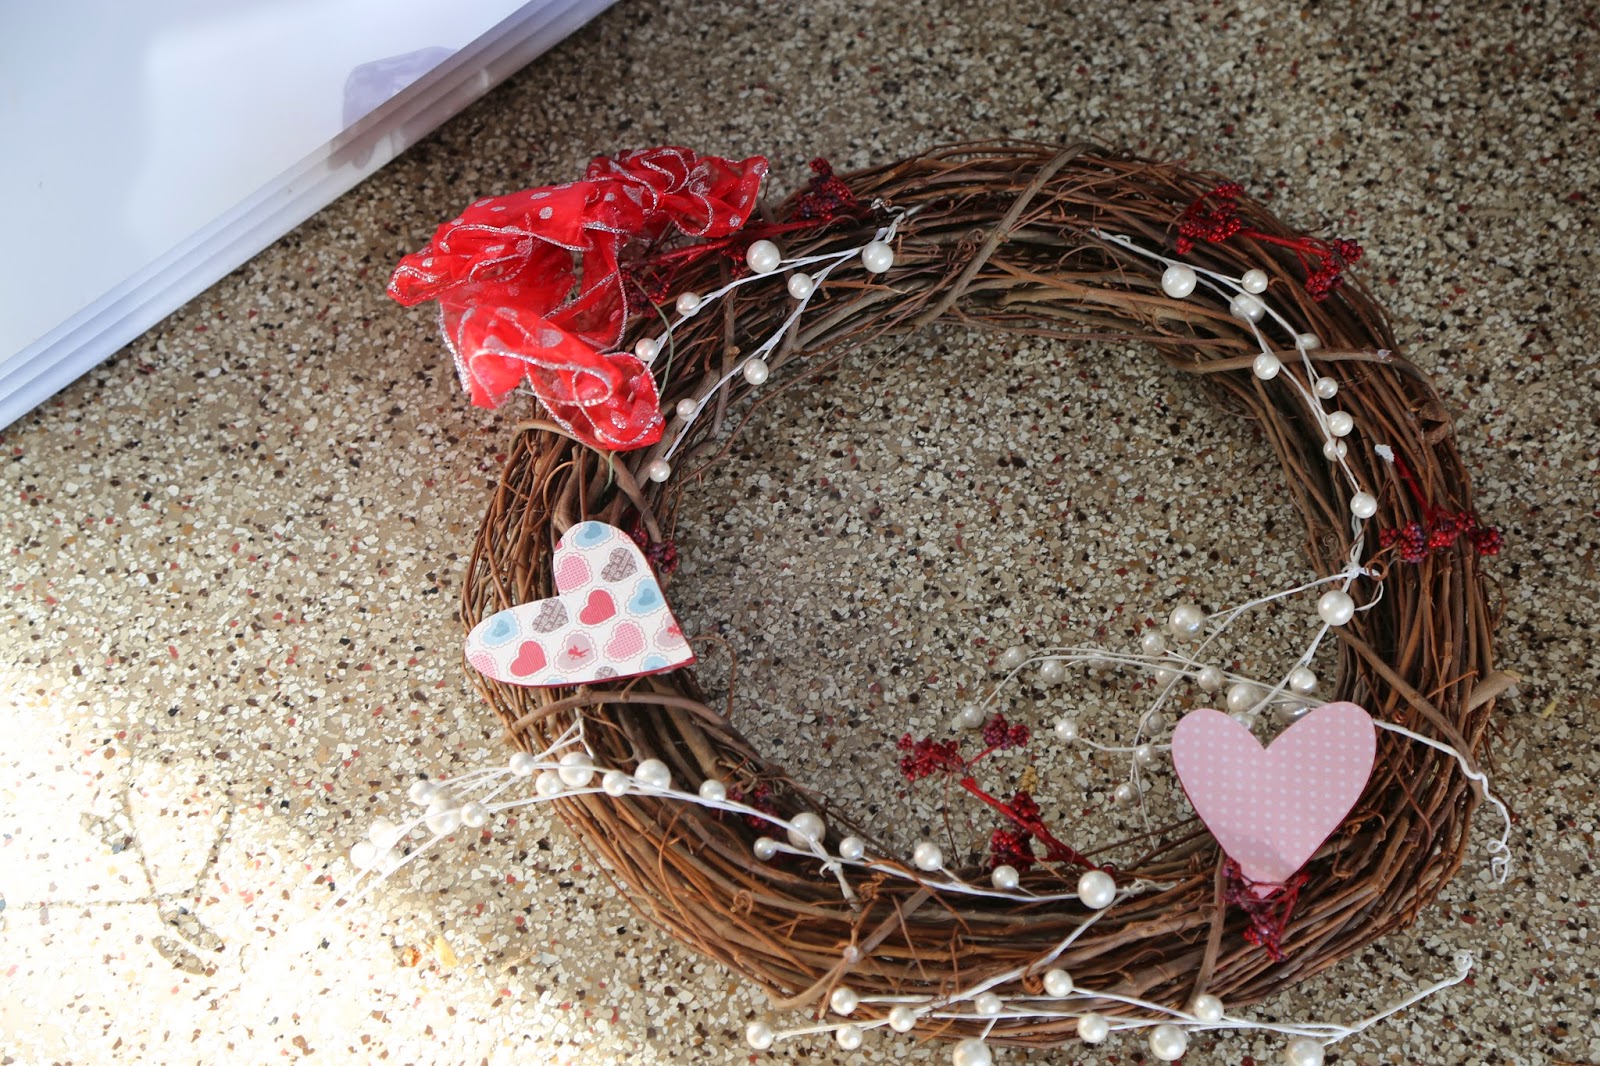
I was going through the junk in my garage this week (which is STILL NOT ORGANIZED after our move . . . *sigh) and I found this beauty:

 
This wreath from my past is so very dead after moving.  So I fixed it up.  Here’s what I did:


I used:
Grapevine wreath form
Floral picks
Burlap 
(My burlap was 11 inches wide and I got it at Walmart after Christmas for 75% off!)
glue gun
wooden embellishments
 
 
For the little hearts, I just used small unfinished wood hearts from the local craft store.  I put scrapbook paper on with Mod Podge using this method.  Easy.


All you do is tuck your burlap underneath the larger grapevine twists (for lack of a better word) 
It’s the sticks wrapped around the grapevine to help the wreath keep its form.


Step 1.  Unroll a substantial amount of burlap and tuck it under the first twist of grapevine.  Gently pull the burlap all the way through.


Step 2.  Move to the next closest grapevine twist, tuck it in and pull it out gently to the other side.  This time however, leave some extra burlap in between the two tucks to make it look POOFY.  Keep repeating around the wreath as desired.


 I only went part of the way around the wreath because I was feeling “artsy”.  But I think it would look cute if you went all the way around too.  Fiddle with the burlap until you like the look.  It’s very forgiving and you really can’t go wrong.
 
 
Step 3.  Add your floral picks and embellishments.  I just wrapped the floral pick wires around the grapevine underneath the burlap.  You could use glue too.


 Using my glue gun, I put a dot of glue on each heart and stuck it to the large grapevine twists that held the burlap.  You can add as much or as little extras that you want.
 
 
Ta-da!  All done.  So very easy.  
 
 
What do you think?


Printable Valentine School Party Pack


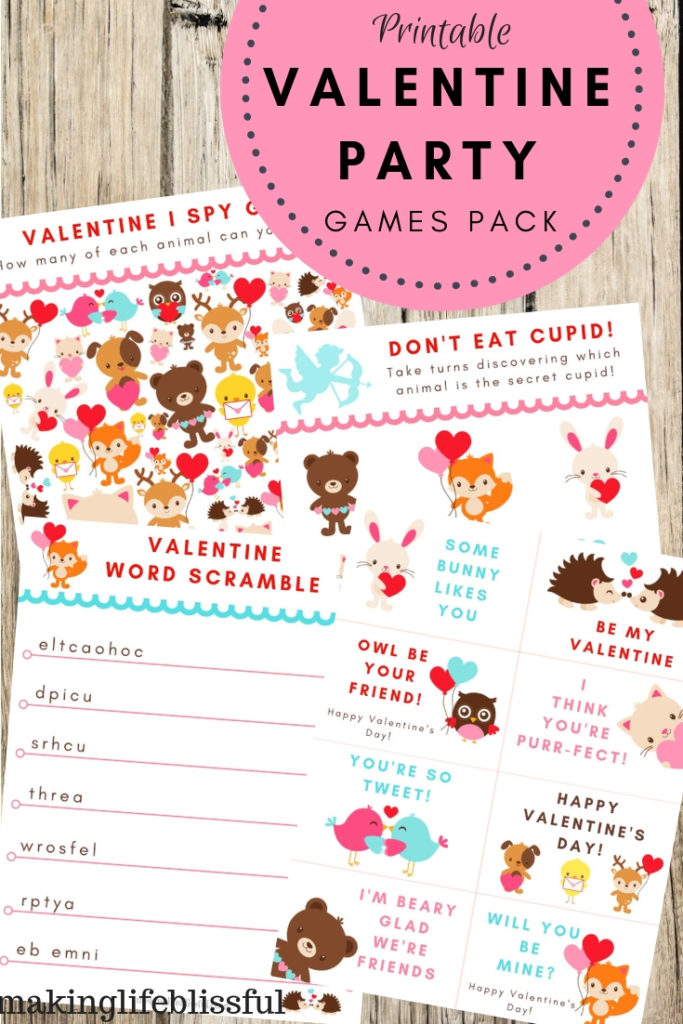
{You may also like this Printable Valentine Pack — CLICK HERE}

This Printable Valentine Pack includes darling Valentine cards, and Valentine games like I Spy, Word Scramble, and Don’t Eat Cupid

 
Also, don’t miss our post from our past.  It’s our family’s very very very favorite Valentine activity together.  It’s something you can do with all ages, all genders, and it’s quite simple.  Check out our Valentine Mystery Dinner Idea:


Make it a meaningful day!

 photo signature_zps9e159beb.png

«
»

Craftiness, DIY, Holidays, Home Decor, Uncategorized, Valentine's Day

About Lisa Jorgensen

I was hit by an intoxicated driver when I was walking on the sidewalk. I was also 6 months pregnant at the time. I learned a huge lesson about miracles and not taking life for granted. I believe in finding the good and making life blissful with family, food, and fun ideas. Every moment matters.

  • Email
  • Facebook
  • Instagram
  • Pinterest
  • Twitter
  • YouTube


Sign up for free printables, fun ideas, and more from

Making Life Blissful

We respect your email privacy

Powered by AWeber Email Marketing


homemade strawberry syrup

Fresh Strawberry Syrup in 5 Minutes

caramel-bottom-french-toast-with-strawberry-syrup

Caramel Bottom French Toast

free donut printables

Free Donut Party Printables

Recent Posts

  • 5 BEST Amazon Finds for Kids This Year
  • How to Visit Capitol Reef Park in ONE Day
  • Quick Cinnamon Roll Waffles
  • 3 Best Face Rollers for Your Beauty Routine
  • Are Home Science Kits Worth the Money?

Join my free printables membership

Categories

Archives

Copyright © 2023 · Darling theme by Restored 316

Copyright © 2023 · Darling Theme on Genesis Framework · WordPress · Log in